nxtprograms.com

Fun Projects for your LEGO® MINDSTORMS® NXT!

Home     Projects     Help     Contacts

Three Stages to Better Photos of LEGO Creations


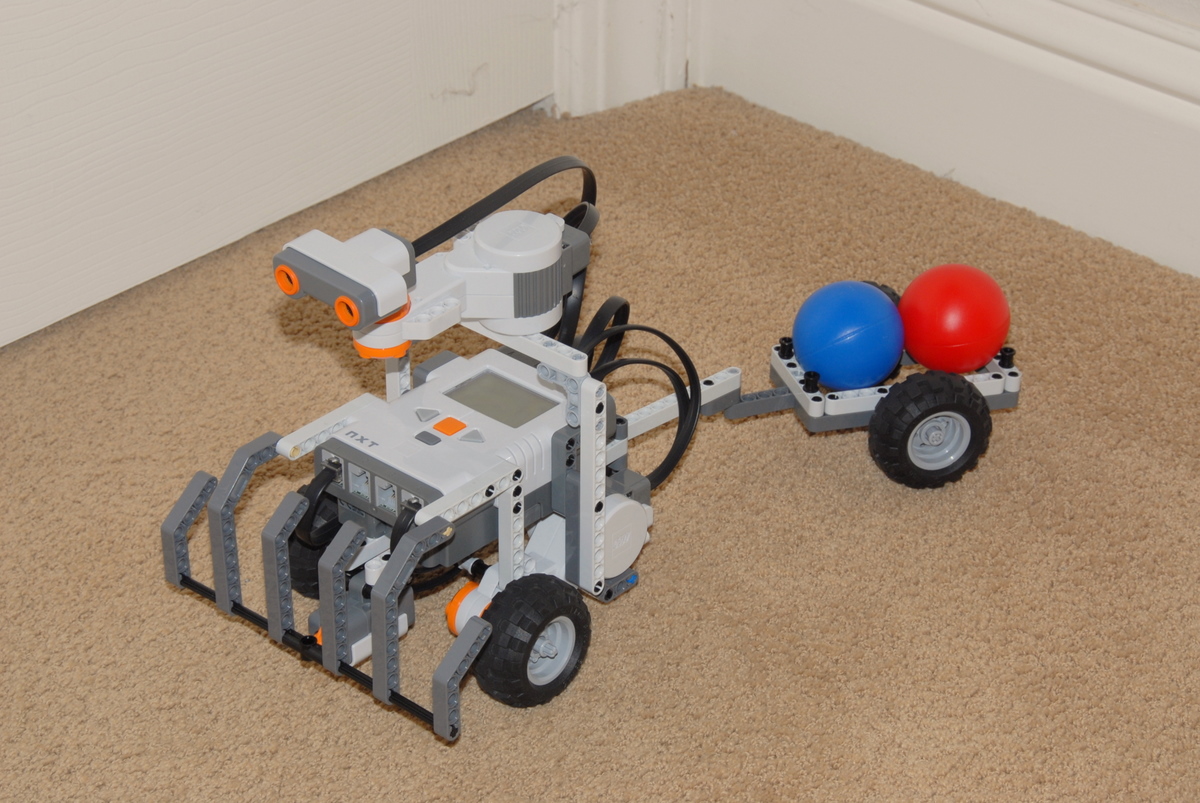
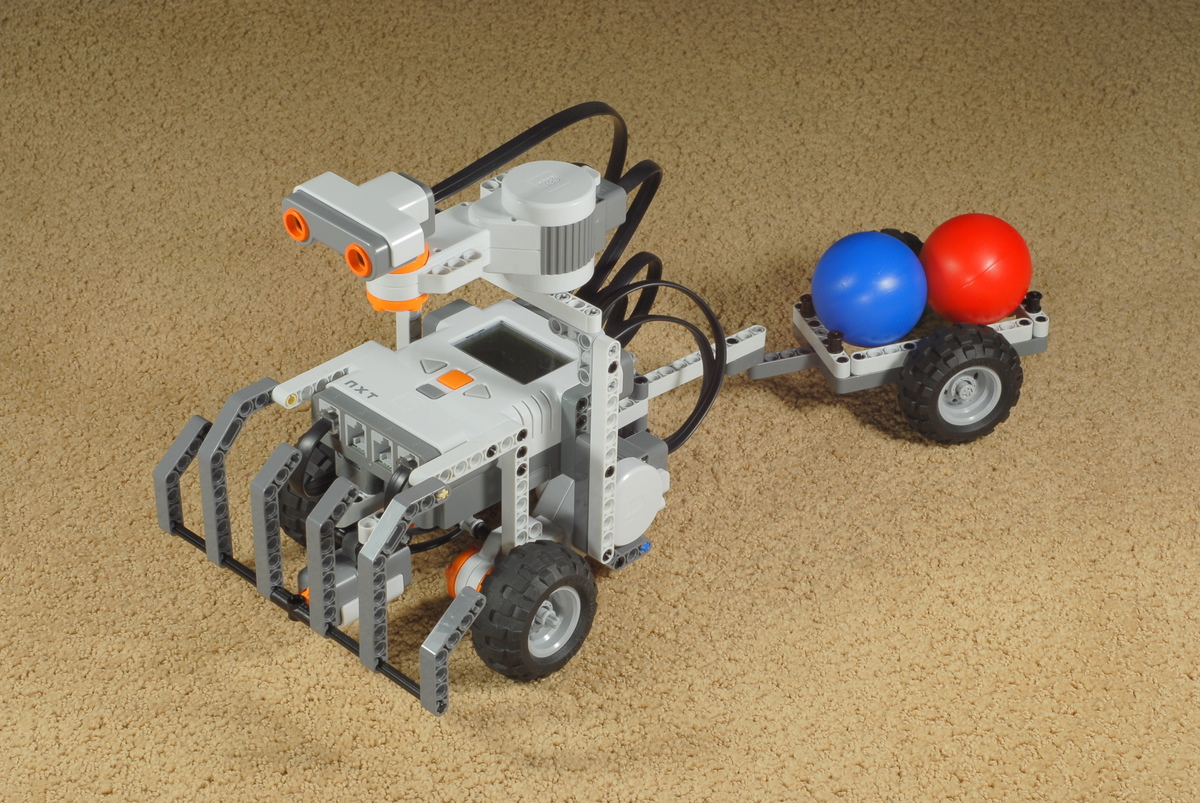
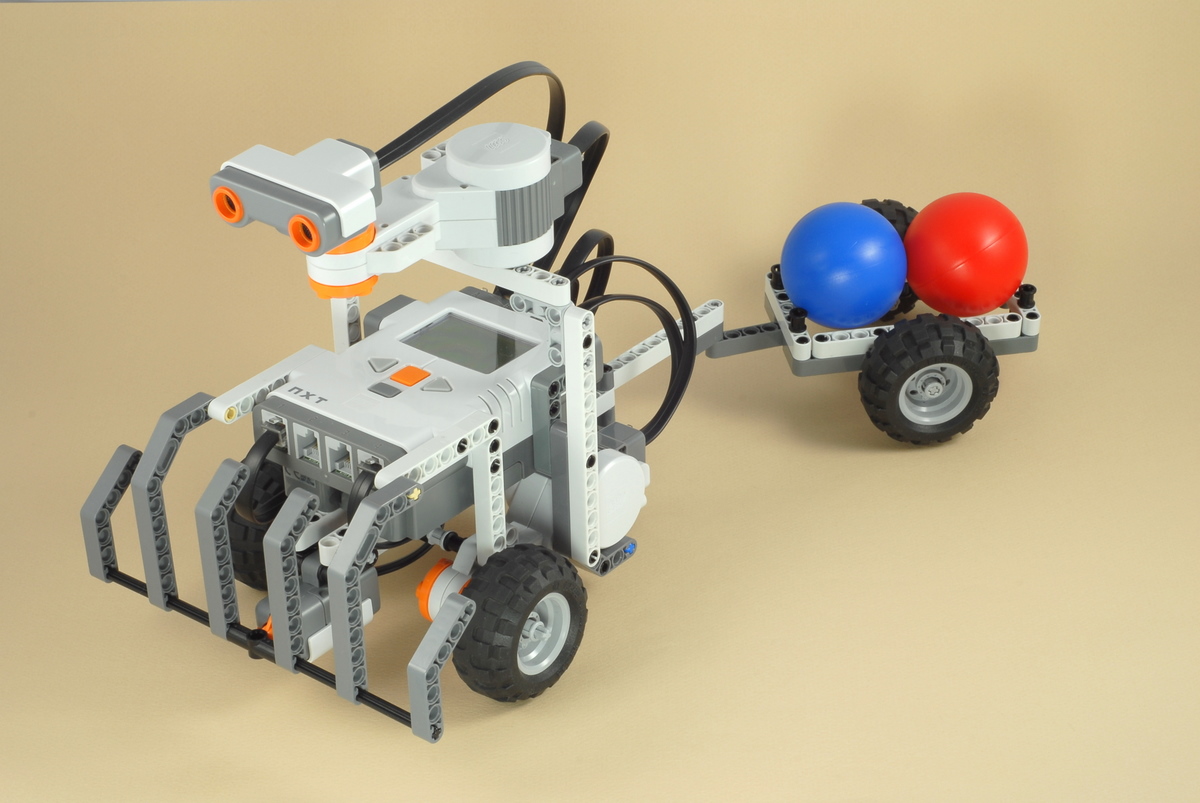
These pages give advice for taking better pictures of LEGOs in three stages, depending on how much effort you want to put into it and what equipment you have or are willing to buy.  It may take a little learning and experimenting in the beginning, but once you figure it out, you will be able to quickly take great pictures of all of your LEGO creations (click sample pictures to enlarge).
 
Stage 1: Camera Settings
and Simple Digital Editing
Stage 2: Using a Tripod Stage 3: Using a Light Tent

Contents

  Camera Requirements
  Stage 1: Camera Settings and Simple Digital Editing
  Simple Digital Photo Editing
  Stage 1 Fixes for all Cameras
  Simple Fix: Step Back and Zoom In
  Close-Ups
  Using Walls to Reflect the Flash
  Additional Stage 1 Fixes for SLR Cameras
  Increasing the Depth of Field by Setting the f-Stop
  Summary of Stage 1 Fixes
  Stage 2: Using a Tripod
  Using External Lights for Tripod Photos
  Using a Single External Light
  Tripod Settings for Point and Shoot Cameras
  Tripod Settings for SLR Cameras
  Light Bulbs and White Balance
  Summary of Tripod Photo Settings
  Stage 3: Using a Light Tent
  Choosing a Background
  Getting the Best Lighting
  Light Tent Settings for Point and Shoot Cameras
  Light Tent Settings for SLR Cameras
  Useful Accessories
  Summary of Light Box Photo Settings

Note: When sample pictures are shown,
you can click on them
to see a larger version.

Get nxtprograms.com on CD!
Click here for info

Home     Projects     Help     Contacts


Copyright
© 2007-2011 by Dave Parker.  All rights reserved. 
All project designs, images, and programs are protected by copyright.  Please see the usage policy.